
Key Takeaways
When a slam ball isn’t inflated correctly or has lost air, you’ll notice it becomes increasingly difficult to use it within your workouts.
Luckily, slam balls can be inflated/deflated to help ensure you get the most out of your ball, even after years of use.
In this guide, I outline how you can fill your slam ball with air, when it’s time to do so and tips for cleaning and maintaining your slam ball so it lasts longer.
How to Fix a Flat Slam Ball
If your slam ball has seen better days, don’t throw it out just yet. You can save tons of money by fixing it at home rather than sinking more cash into a replacement ball. The materials to fix your equipment cost significantly less than a new ball, and you can use them for several repair jobs.
Remember to patch the ball before you inflate it through the valve. It’s pointless to use the air pump and then have to patch it afterward because you’ll have to use the tire pump again right away.
Below, you’ll find the supplies to repair your flattened slam ball:
- Sandpaper (40 to 60 grit)
- A t-shirt or soft microfiber cloth
- Vulcanizing rubber cement
- Rubbing alcohol
- A car tire patch
- Tire pump
Without further ado, let’s dive into the step-by-step process to put air in a slam ball.
Figure out where the puncture is located on the slam ball. If you’re not sure where you need to inflate and patch the ball, fill a 5-gallon bucket of water. As CFF Strength Equipment suggestions, you can set the ball in the water and watch where air bubbles come out. This exit will be a clear indicator of the leak.
Scratch the area around the hole with sandpaper. You shouldn’t break through the shell in this step. The purpose is to create a porous surface for the glue to get a secure hold after you repair the ball. Go slowly to prevent wear and tear to the ball that could be potentially irreparable.
Use alcohol and a microfiber cloth to clean the area around the hole on the slam ball. Much like the previous step on the list, cleaning off the slam ball will increase the chances of the patch and glue holding their place. Otherwise, the glue could adhere to the dust and debris rather than the ball.
Fill the ball with air using the aforementioned bicycle tire pump. Do one pump at a time, feeling the firmness of the ball as you go. You don’t want to overinflate the ball or it could pop or expand too much. If you have a valve on the ball where the air leak it, then you should use the tire pump through it.
Cut out a circular shape in the patch for the hole on the ball. Sharp corners will rip up and become removed over time. You can proceed to use the previously mentioned vulcanized rubber cement on the patch, press it against the ball, and lay the ball patch-side down. Fill the slam ball with air once it’s dried.
It usually takes about 24 hours for the glue to completely dry. After that, you’re free to use your slam ball as you would normally.
When Is It Time to Replace a Slam Ball?
Unfortunately, not all slam balls can be saved. Some of them are far beyond fixing, but how do you know when it’s time to get a new one?
The easiest way to know if you need to get another slam ball is if you’ve patched your current ball too many times. Using a patch through the guide above is an excellent way to get plenty of months added onto the lifespan of the ball, but it’s not a perfect cure. You’ll still have air loss through other areas, eventually.
If it feels like you keep patching the ball, it might be time to let it retire. Another telltale sign of an unusable slam ball is when the sand and cement inside start to clump or lose their shape. Clumps in a slam ball shift the weight, preventing you from getting the workout that you’re trying to achieve.
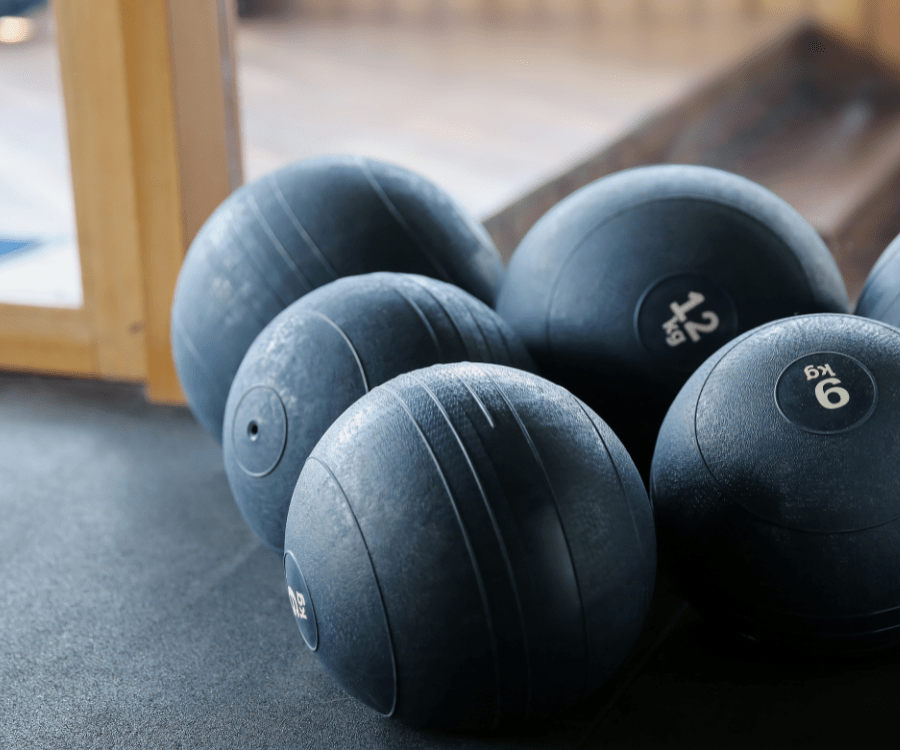
A good tip to keep your slam balls in good shape is to get a few of them and switch up your routine. Using the same ball over and over will obviously result in a shorter life expectancy. Get two or three slam balls, load them up on the Champion Sports Medicine Ball Tree, and switch which one you use every day.
However, it doesn’t matter how often you switch between each ball if you’re not taking care of them as you should. For more information about cleaning and maintaining your slam balls, proceed to the next section.
How to Clean and Maintain a Slam Ball to Prevent Flattening
Slam balls are built tough, which is ideal since you’re throwing them at top speed straight down to the floor. This constant motion eventually leads to small leaks or breakages that typically form along the surface rather than the interior structure.
Cleaning the ball every month will prevent dust and debris from building up. When too many particles start to settle on the ball, they weaken the surface. Combined with the inevitable slamming force of the exercise, it’s a recipe that’s begging to create a tear in the ball.
Here’s how you can clean your slam ball in a few simple steps:
Start by wiping down the slam ball with a dry rag to remove excess debris. This step is simple, but it’s the best way to get the next step to work more efficiently.
Use Benjamin’s Rubbing Alcohol with Wintergreen Oil to wipe down the ball. You can take a thin shirt or microfiber cloth to thoroughly apply this solution. Feel free to mix three parts of rubbing alcohol with 1 part of wintergreen oil if you have them at home already.
Finally, take a large amount of vaseline and rub it all over the slam ball. This step prevents debris from collecting on the surface of the ball, but it also makes it softer to the touch. Once you’re done applying the vaseline, wipe it off with a towel.
Holes with almost always form in a slam ball, requiring air to fill the gaps. That being said, you can try these suggestions to prevent them from showing up any time soon.
Summary
Slam balls require air to inflate all the way. Although there’s usually sand or cement inside, you’ll still have to fill it with a bike tire pump to get it back to its normal size. Using a handful of household supplies, you can make your slam ball look as good as new, even after months or years of heavy usage.
Here’s a quick rundown of the post:
Clean the surface of the hole prior to patching it to allow the glue to hold easier.
You can use wintergreen oil and rubbing alcohol to clean your slam ball monthly.
If your slam ball keeps showing signs of holes throughout the patches, it might be time to get a new one.
